This is a tutorial for a really easy, and super cute, 60's style shift dress.
The pattern has been cut for my shape and size (which is roughly a UK size 12) but it will need some adjusting for each individual, so be sure to make a toile before cutting the pieces from your main fabric.
First thing to do is print out the pattern provided in this
link and you're ready to begin!
I used half an inch seam allowance, with exception of the back seam, where a full inch was used to accommodate the zip.
Cut the front pattern piece on the fold of the fabric.
 |
| That's just a regular dumb bell weight... |
Cut one back piece, from the wrong side of the fabric, with the armhole facing your right; then cut a second piece by turning the pattern piece over so that the armhole faces to your left.
Pin and sew the back pieces to the front piece, making sure that the shoulders are aligned.
You should end up with something looking rather like this:
Now is the time to add the darts or pleats. You will want to start from just under the bust and go down to your natural waist.
I chose to use use pleats as the material I used was, essentially, upholstery fabric and wasn't going to drape well without some help. The darts or pleats in the back are down to your discretion - the material I used had so little 'give' in the weft that I couldn't make it too fitted....
Now you need to measure and mark where your zip will sit along the back seam. (If you have quite heavy material, I would suggest that the zip reaches the bottom of your rib cage, at least.)
Sew the back seam, making sure to use a basting stitch where the zip is due to sit.
Open up the seam and press.
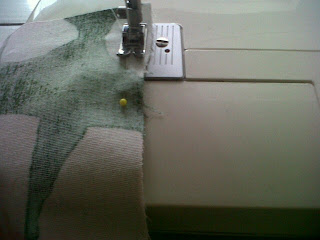
Pin the zip into place and make sure you switch to the zipper foot before sewing.
Once the zip has been sewn into place, cut open the basting stitches with a seam ripper or embroidery scissors.
That's probably the most difficult part over!
 |
| (Including the hemline that I forgot to take a picture of!) |
And you finish with something that looks rather like this:


